Engineering
Build a Next.js App Easily Using ApyHub APIs
Follow our guide to set up a Next.js app with ApyHub integration. Learn to implement the timezone and iCal APIs through practical examples and step-by-step instructions.
ED
Edijs Musajevs
Last updated on February 10, 2023
Build a Next.js App Easily Using ApyHub APIs
Introduction
This tutorial will guide you through the steps of setting up a Next.js app and integrating it with ApyHub. We will use the timezone API and the iCal API from ApyHub.
Prerequisites
- Basic knowledge of Next.js and Typescript
- Node.js v16+
- An ApyHub account
Setting up the Next.js Project
Open your terminal and navigate to the directory where you want to set up your project.
Clone the Next.js starter project from the repository:
git clone -b starter <https://github.com/apyhub/with-nextjs.git>
Navigate into the newly created directory:
cd with-nextjs
Install the dependencies:
npm install
Start the app:
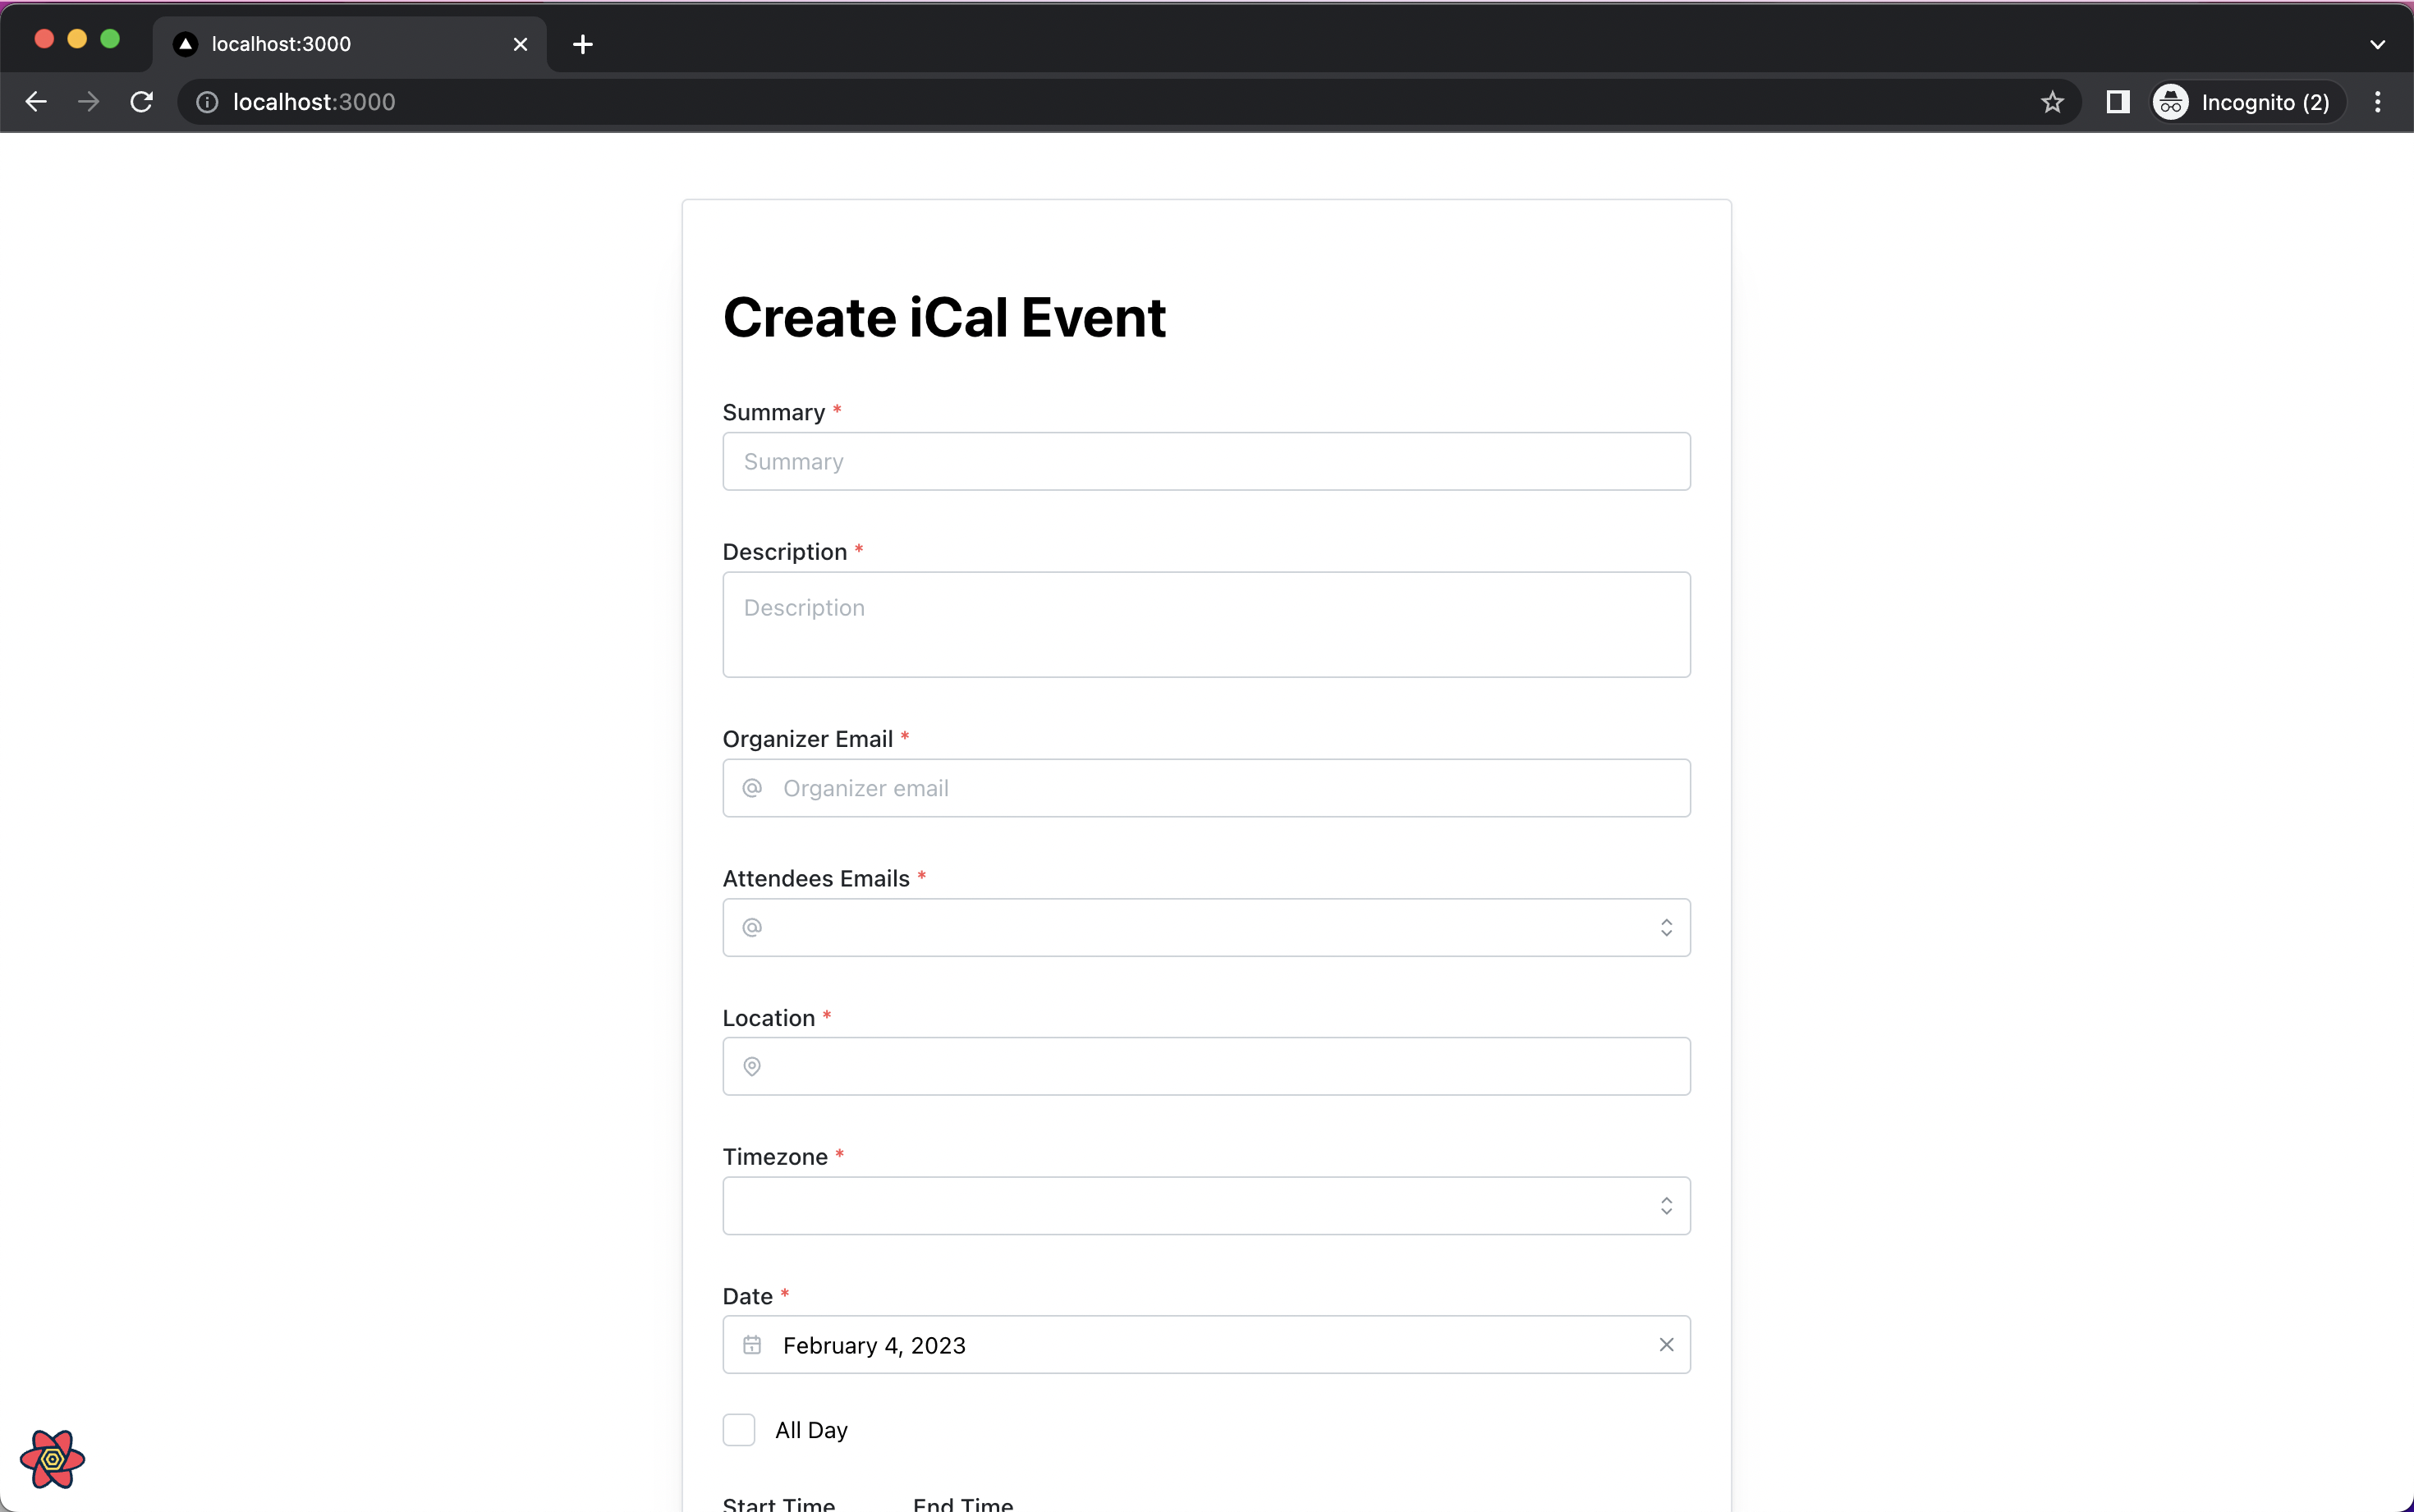
npm run dev
Your app should now be running and look similar to this screenshot:
Set up your ApyHub account
Go to https://apyhub.com/auth/signup and log in to your ApyHub account.
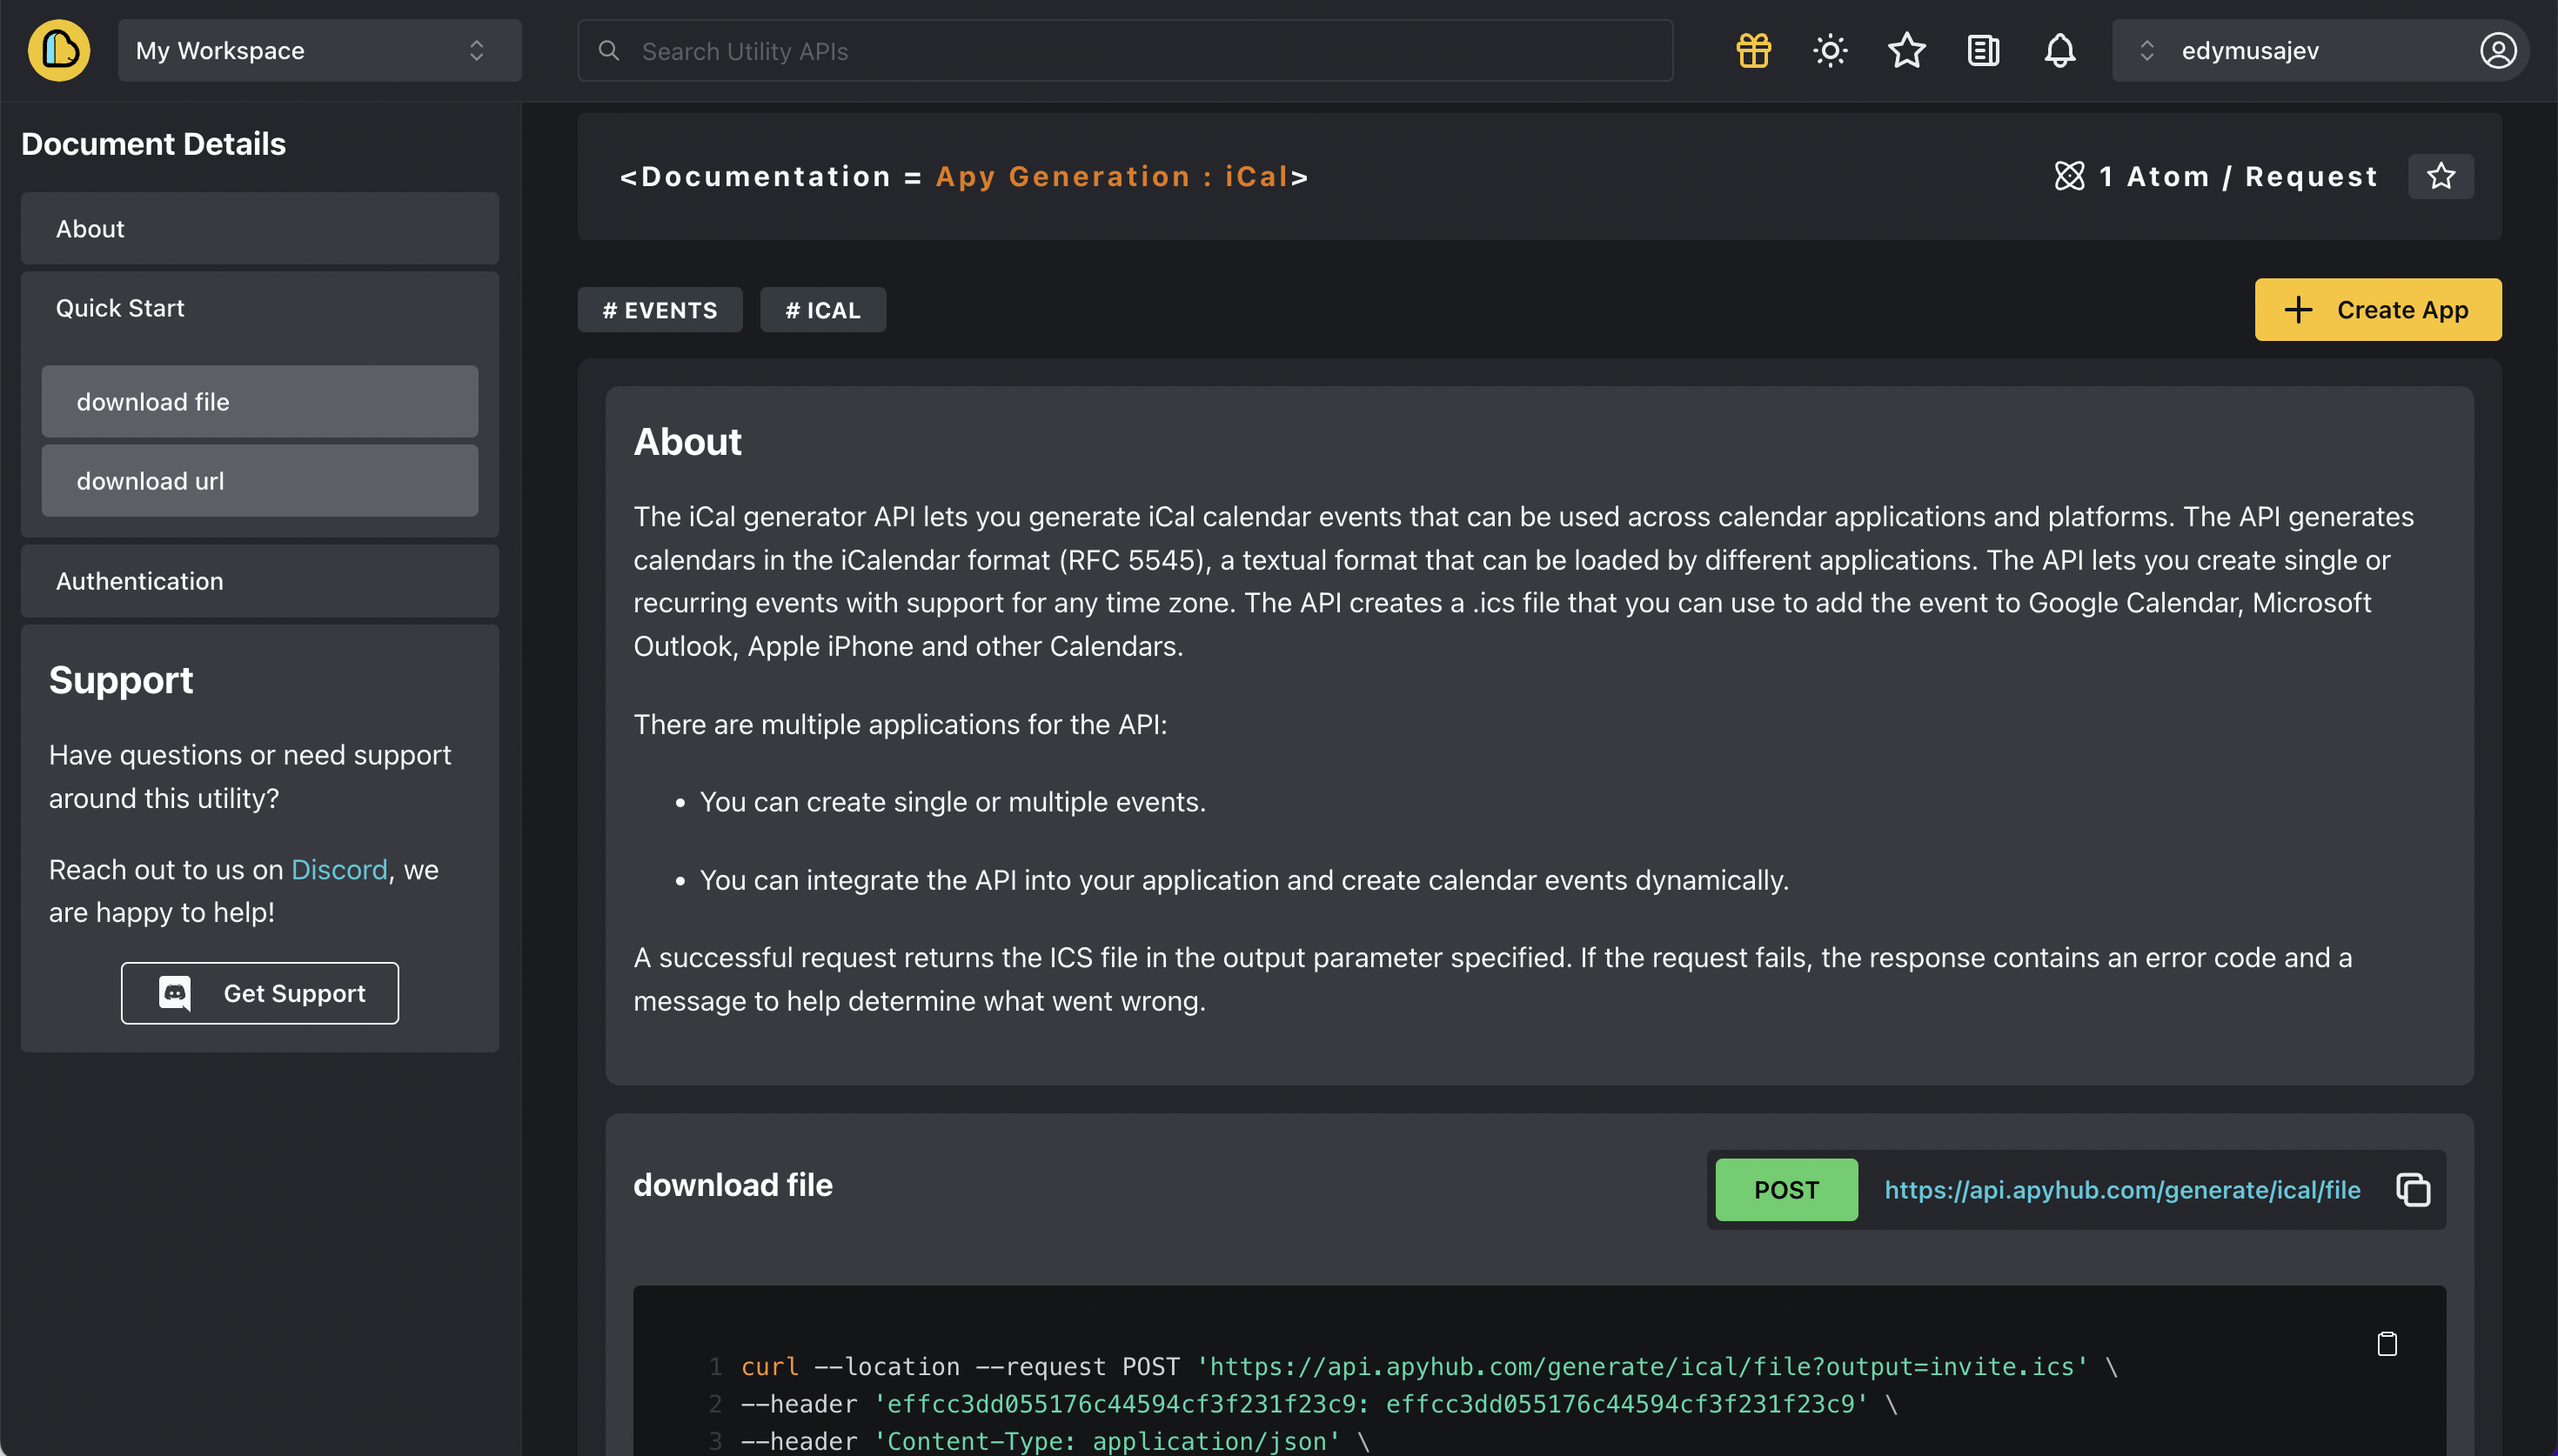
Once logged in, access the timezone API and the iCal generator API:
To be able to communicate with the APIs from your Next.js app, you will need an
apy-token environment variable. To get this token, follow these steps:On the API documentation page, click on the yellow "Create App" button in the top right corner.
Create a new token with the name
with-nextjs.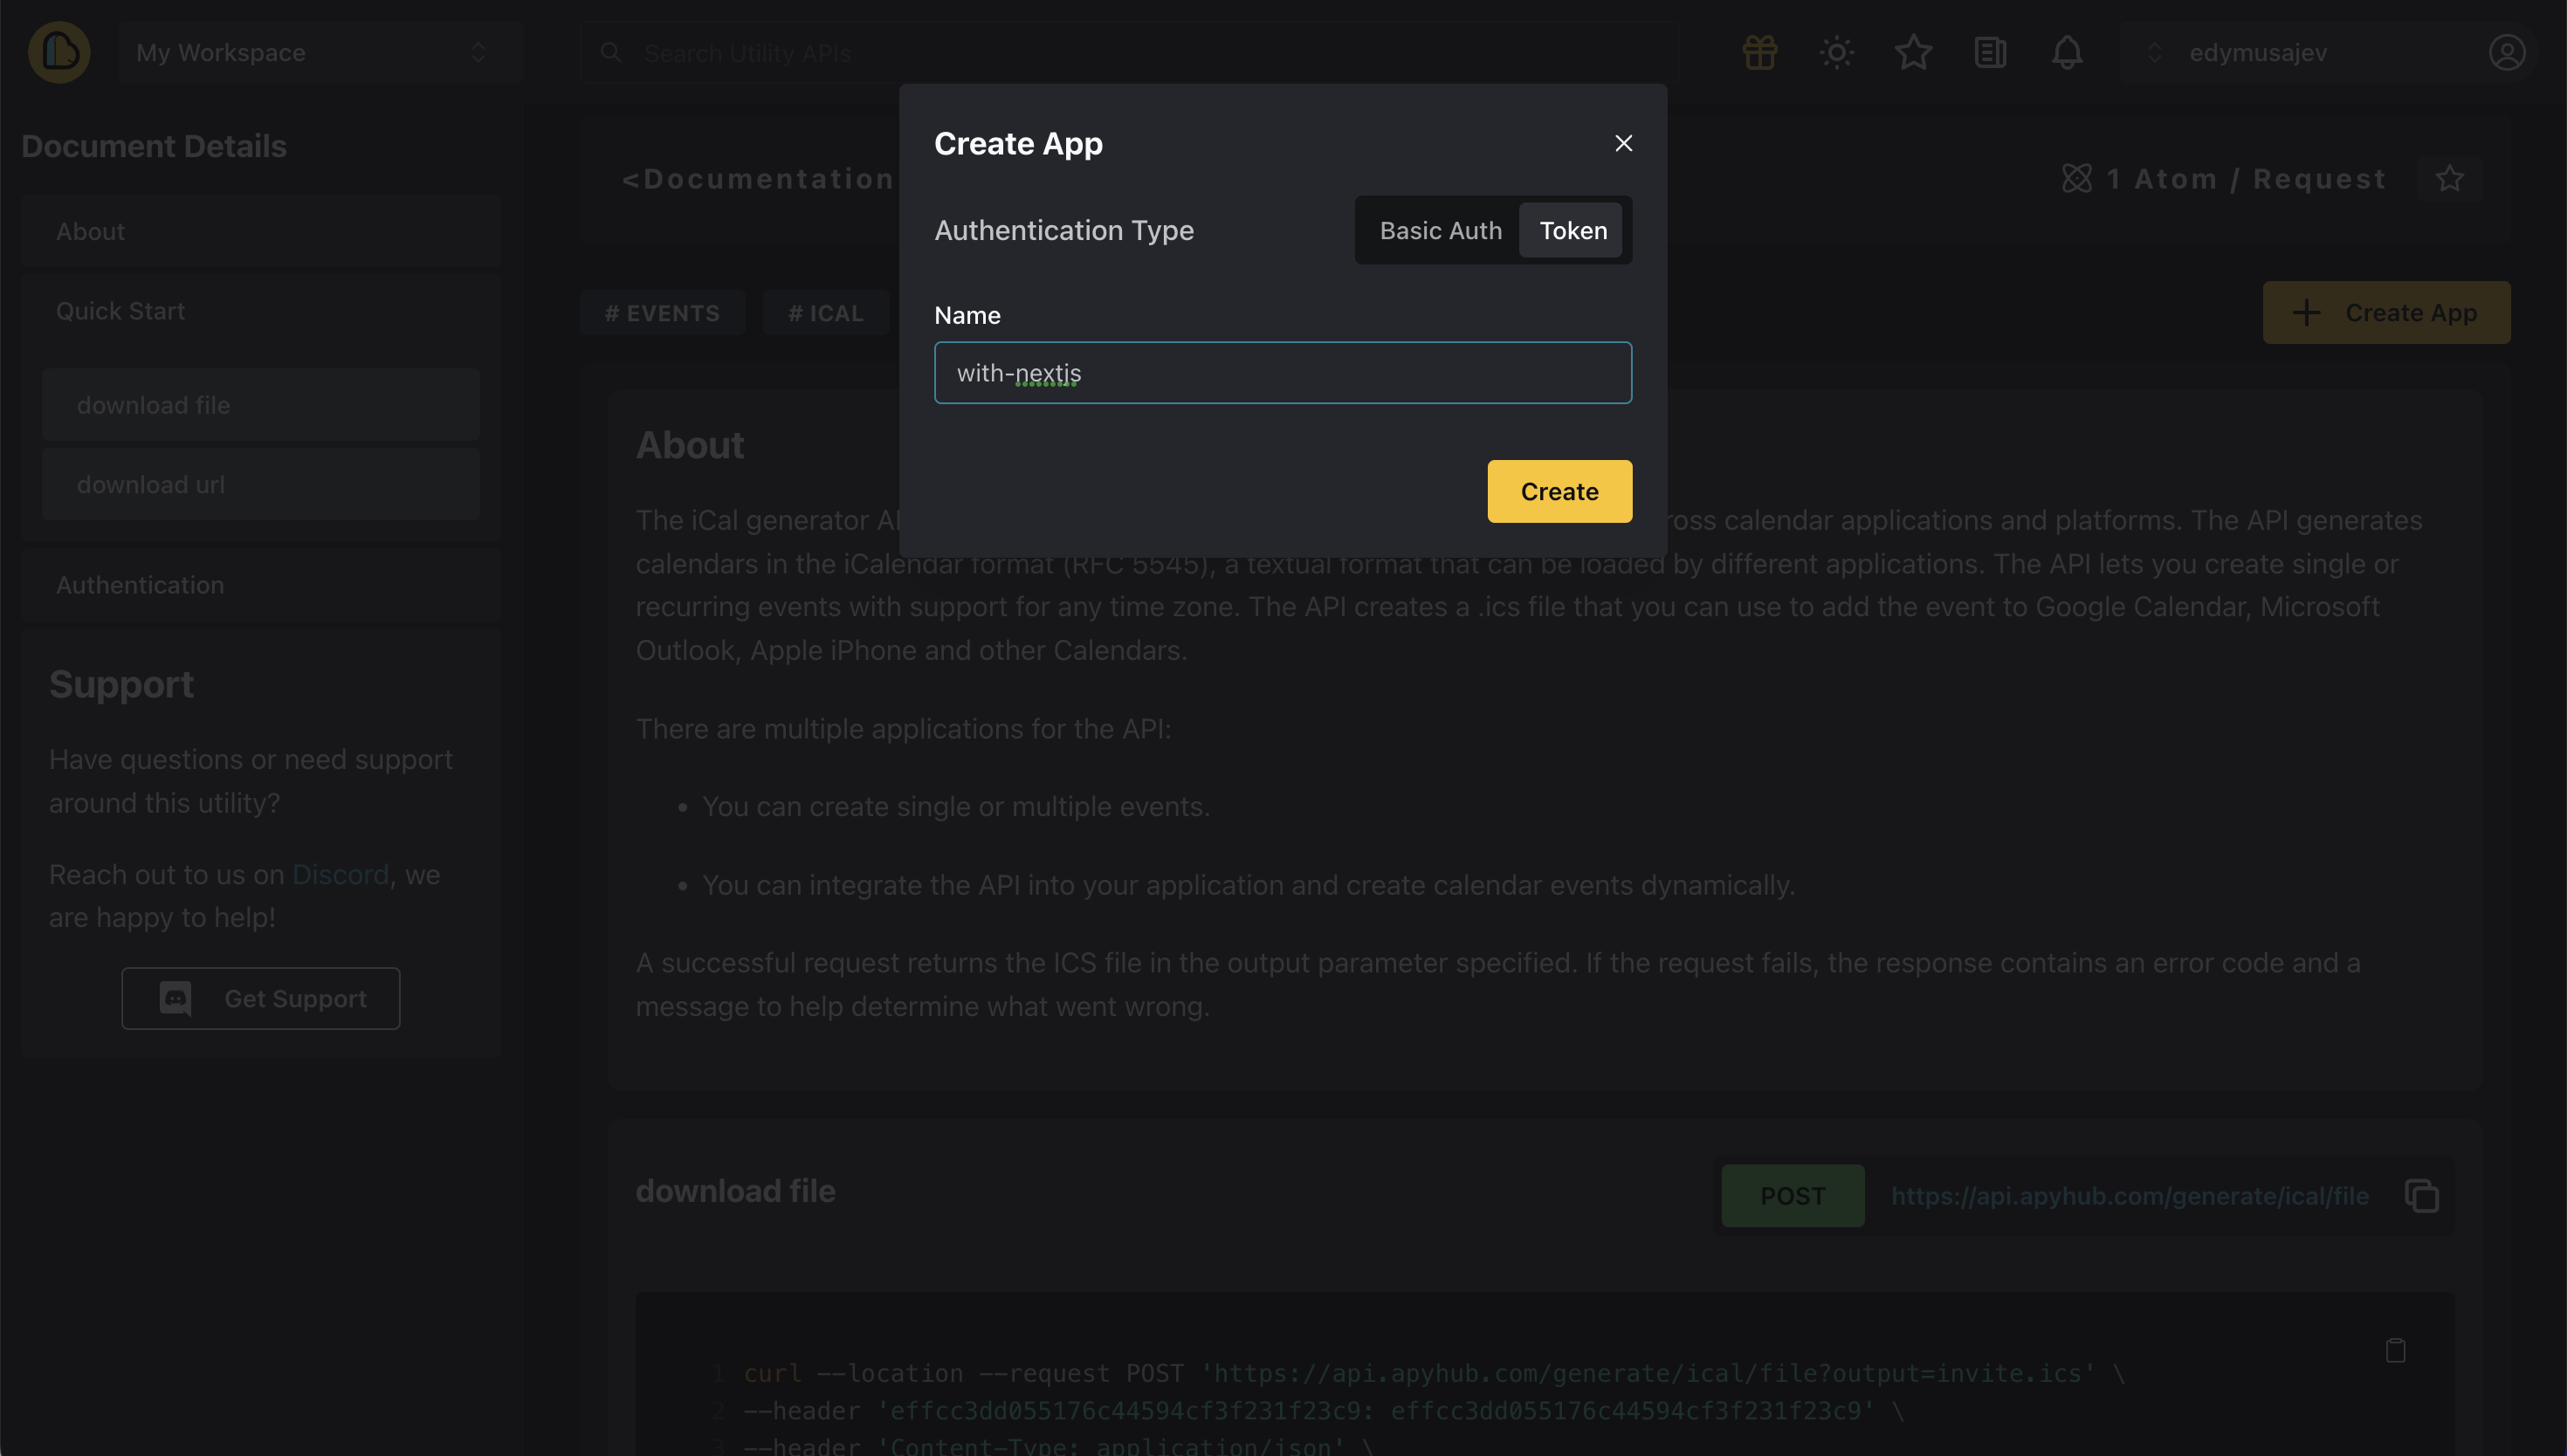
After creating the token, you can view it on the
My Apps page. Copy the token and store it securely. We will use it in the following steps of our Next.js project.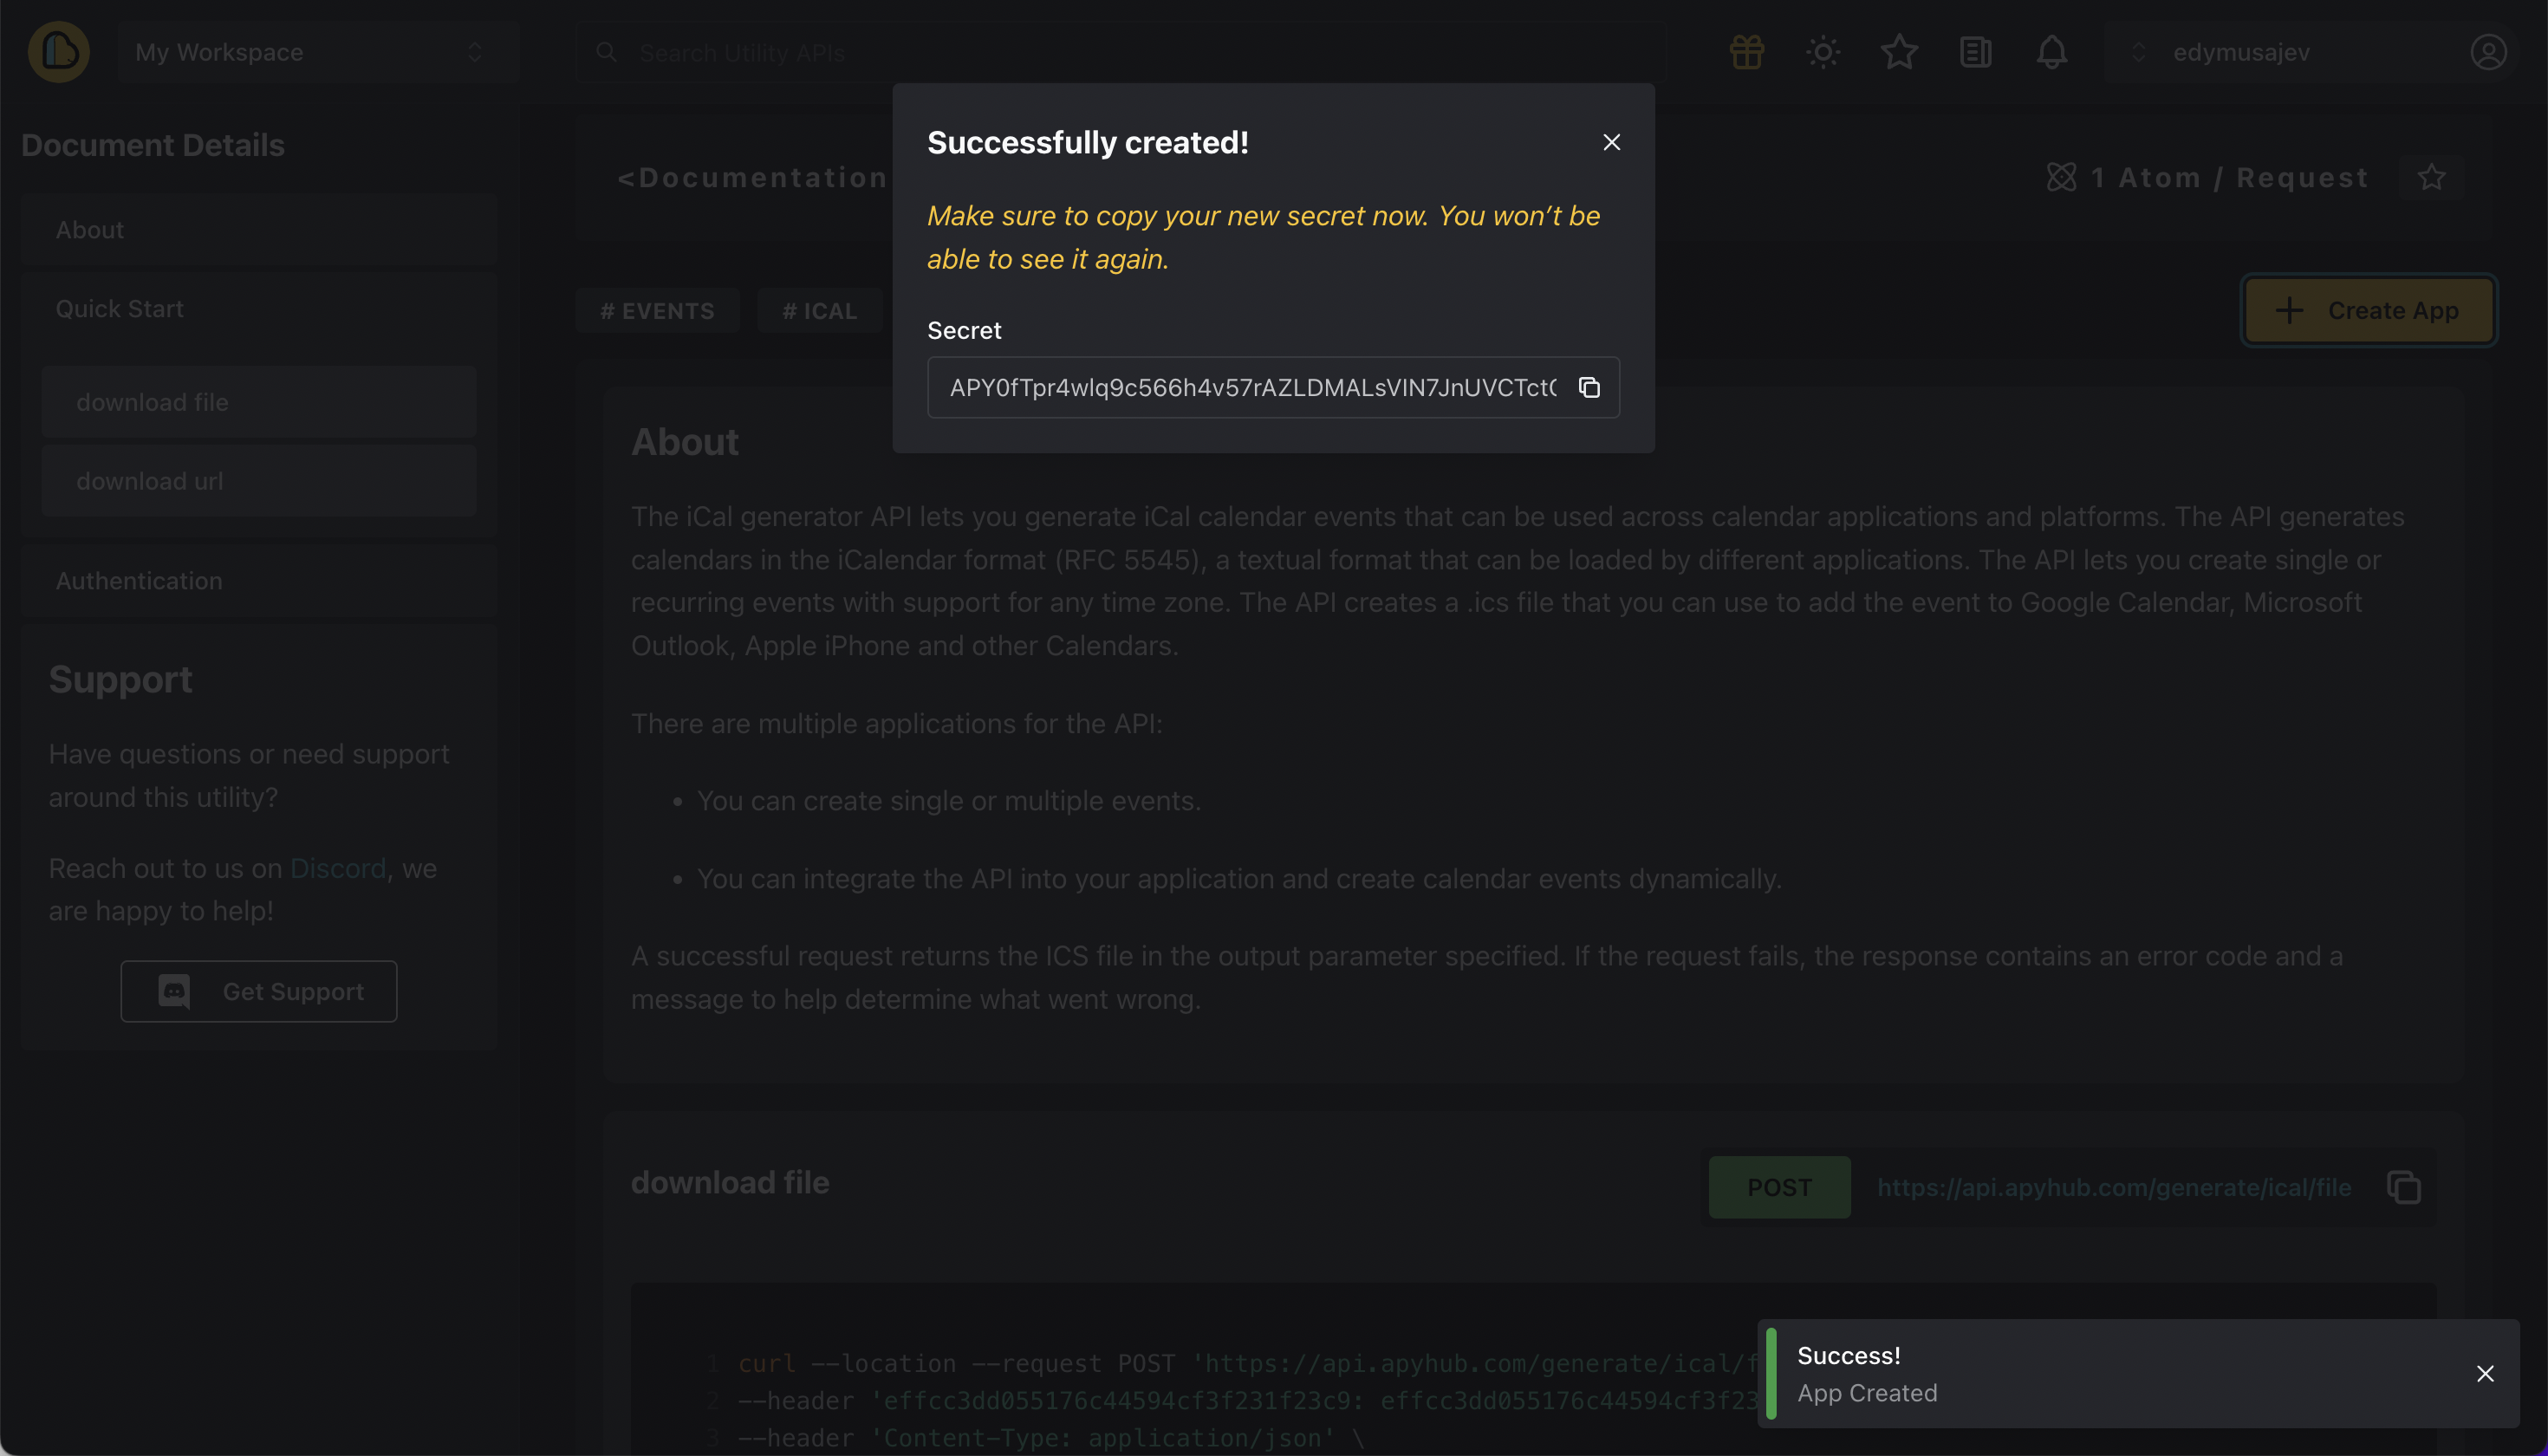
Integrate ApyHub with a Next.js project
Install the apyhub.js Node.js library in your
with-nextjs project.npm install apyhub
Create a new
.env file in the root of your project and name it .env.local.Inside this file, add the app token created in the previous step, like so:
APY_TOKEN=YOUR_APP_TOKEN_GOES_HERE
Create a new folder called
lib to initialize the ApyHub library.Inside that folder create a new file called
apyhub.tsIn this file, we will initialize the Apyhub client using the environment variable token created previously:
import { initApyhub } from "apyhub";
const apy = initApyhub(process.env.APY_TOKEN as string);
export { apy };
How to use ApyHub API utilities
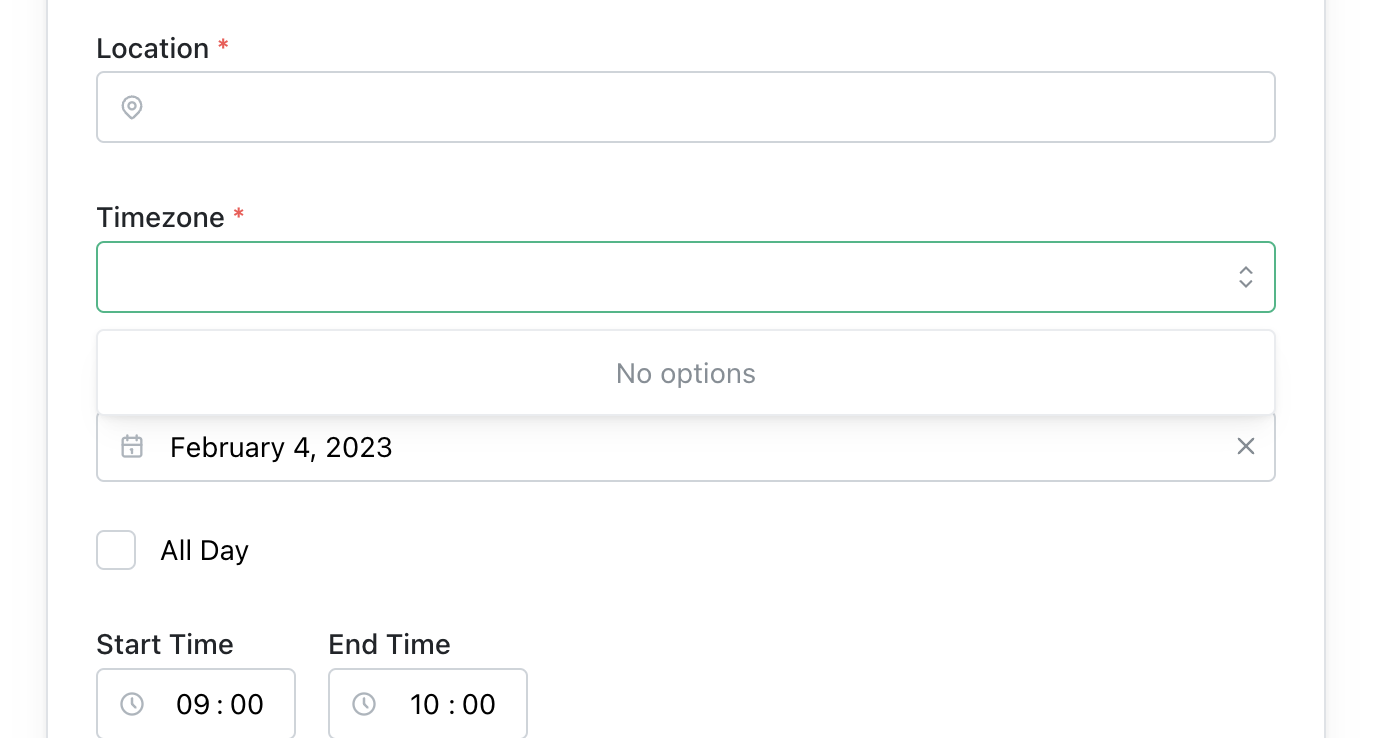
Fetching timezones
Currently, our user interface (UI) has an empty dropdown menu for time zones. To avoid having to manually create the array ourselves, it would be beneficial to display all time zones in this menu. Fortunately, we can use the data-lists-timezone API for this purpose.
ApyHub does not support client-side requests due to the security risk of exposing credentials to the client, which could lead to malicious actors making requests on your behalf. If you attempt to make a client-side API request, you will receive a CORS error. To ensure all API requests are handled from the server, Next.js serves as the bridge between the frontend and backend.
Inside the
/pages/index.tsx file of your Next.js project, there is a getServerSideProps function. This is where server-side code is executed for Next.js projects.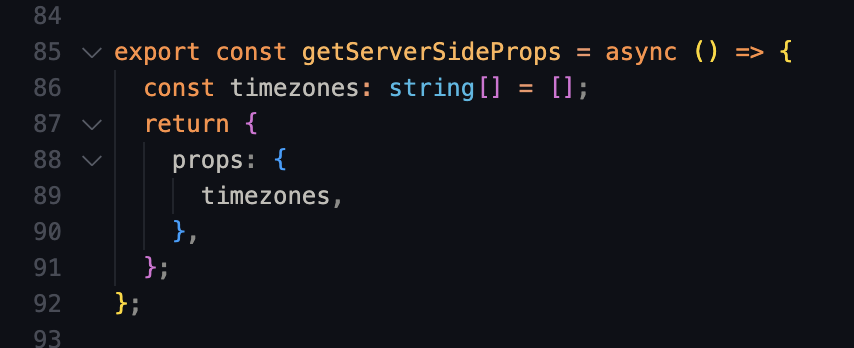
In here, we currently return an empty array for timezones. Let's change that by fetching an array of timezones from ApyHub. First, import and export the
data object inside the lib/apyhub.ts file:import { initApyhub, data } from "apyhub";
const apy = initApyhub(process.env.APY_TOKEN as string);
export { apy, data };
Use
getServerSideProps in the /pages/index.tsx file to fetch data.import { data } from "../lib/apyhub";
export const getServerSideProps = async () => {
const { data: timezones } = await data.timezones();
return {
props: {
timezones,
},
};
};
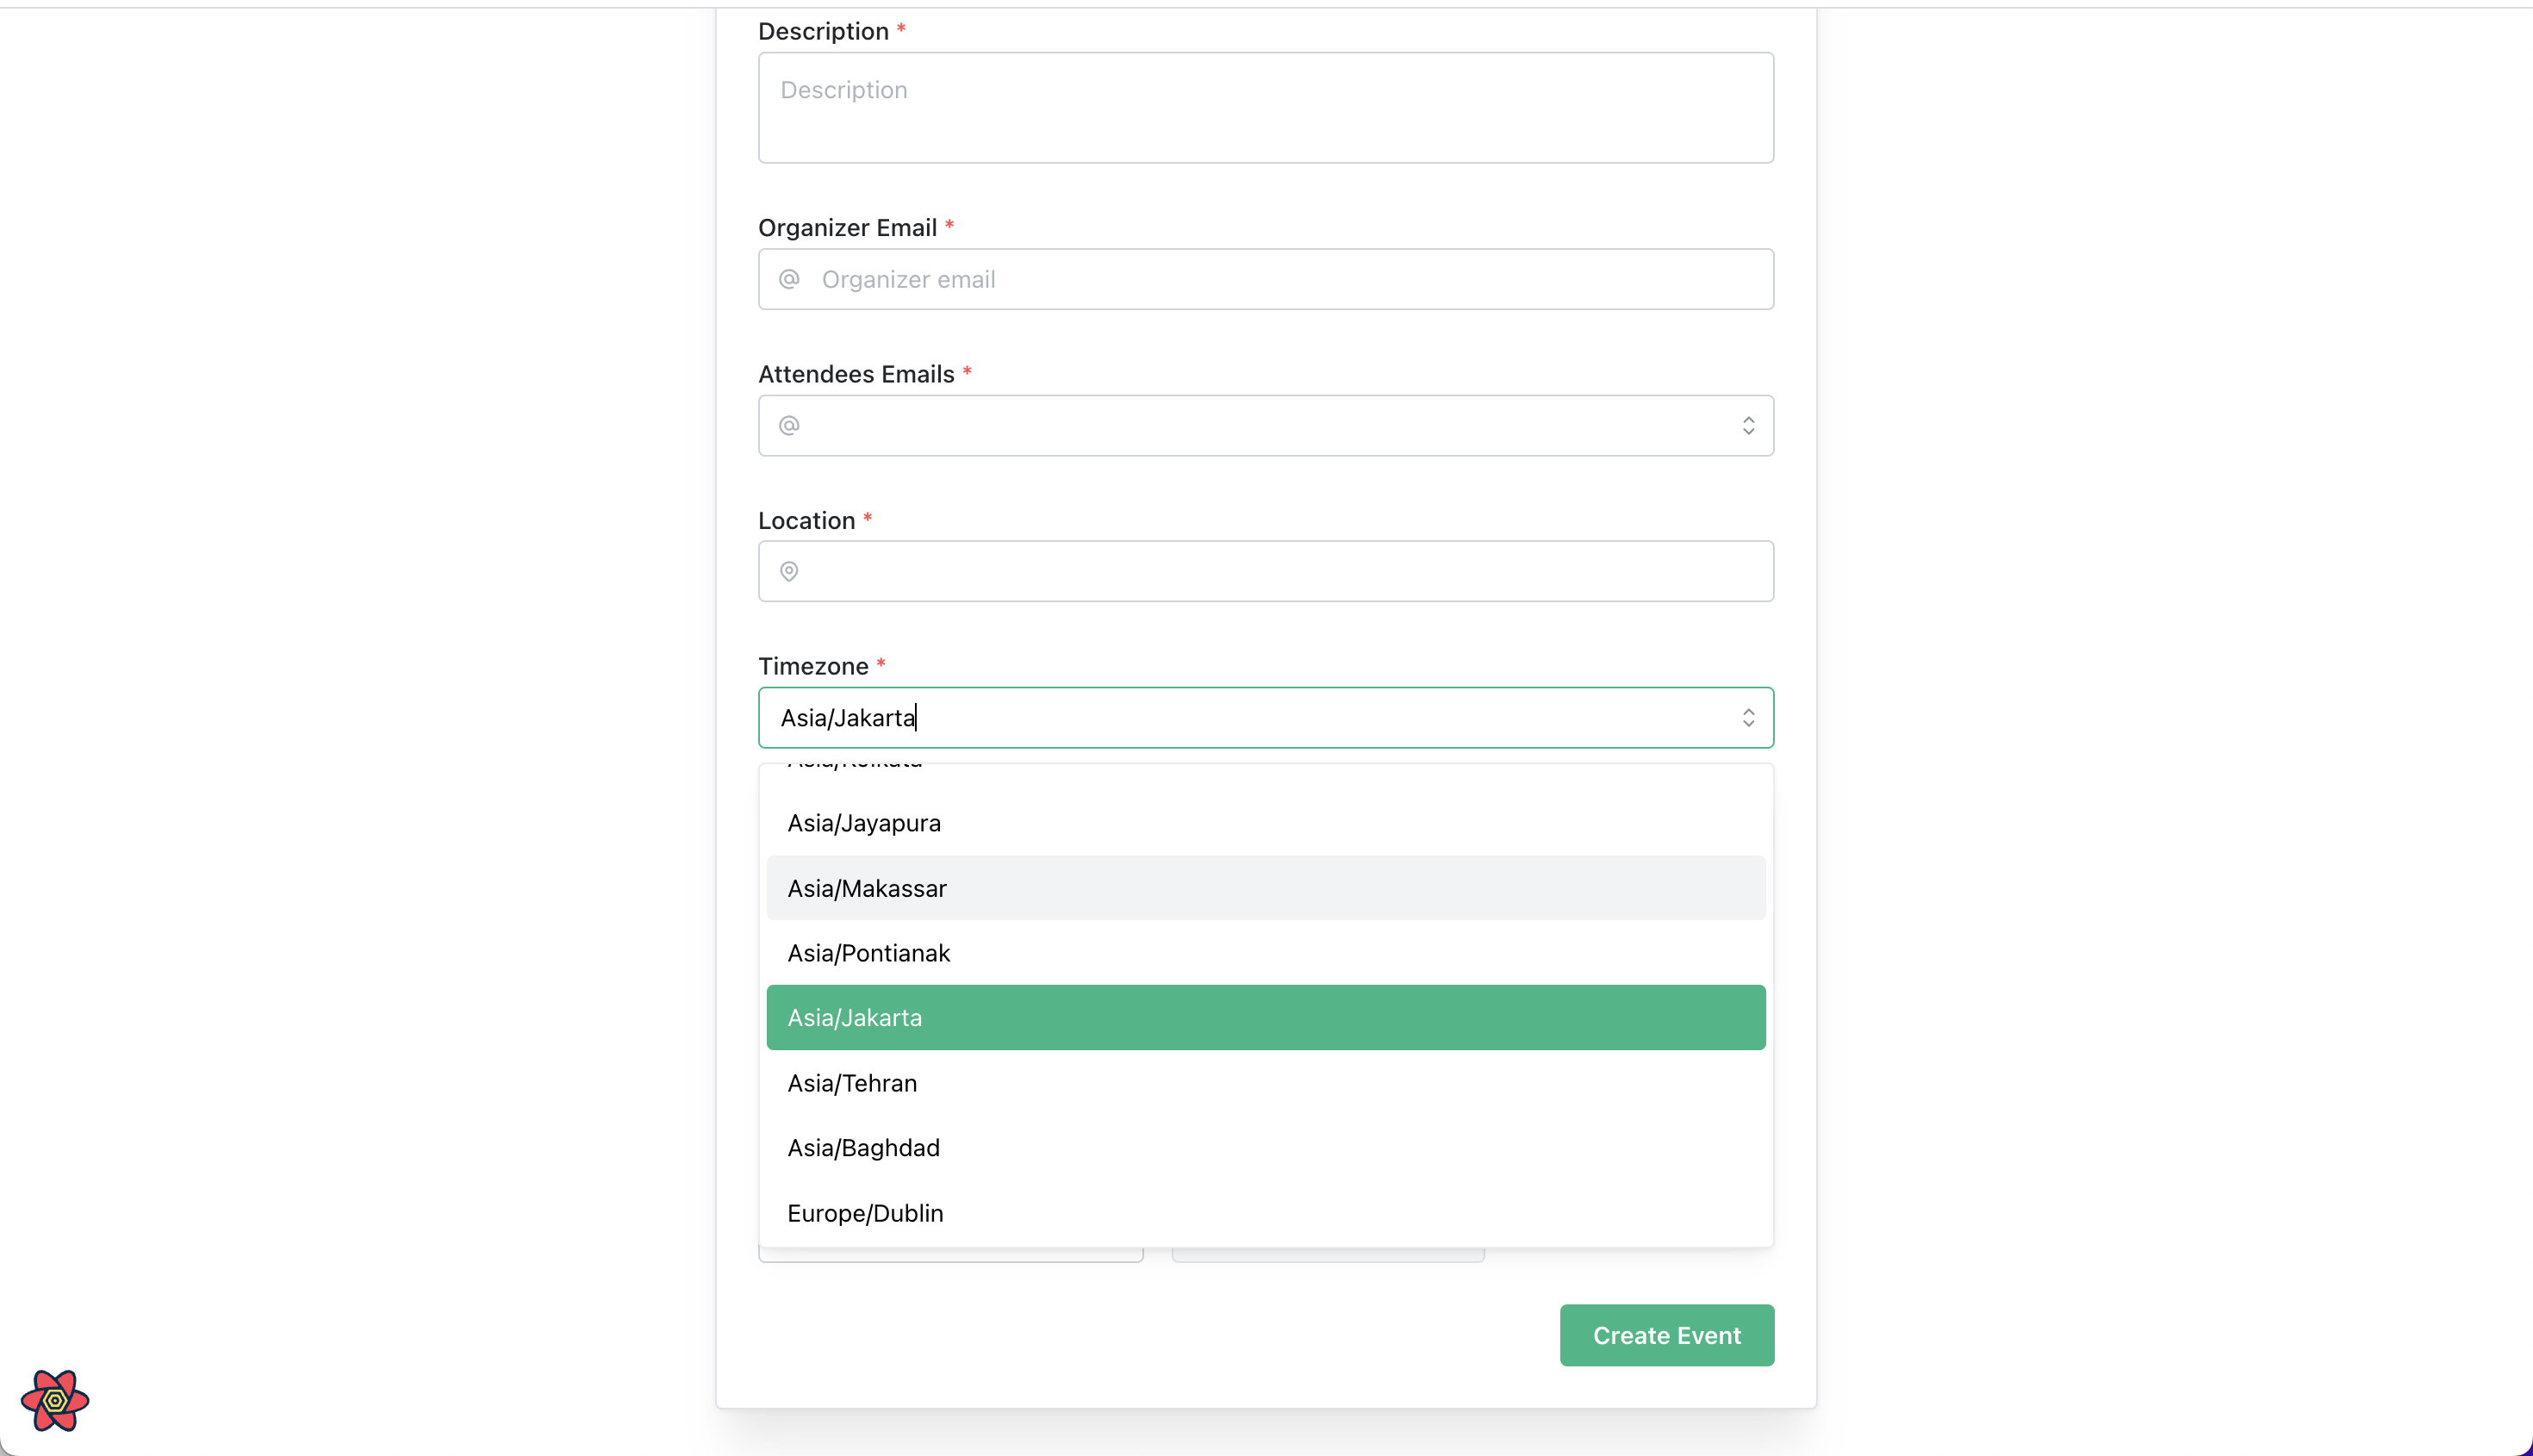
Reload the page to see all timezones in the dropdown menu - great!
Fetching iCal file
Now that we can select a time zone from our drop-down, we have all the necessary components to generate a new iCal event. Next, we will create the API request to make this happen. To do this, we will use Next.js API routes.
Create a new API route. Inside the
/pages folder, create a new folder called apiInside the
/pages/api folder, create a new file called ical.ts.We will use the
generate object from the apyhub library to create a new iCal file.Go to the
/lib/apyhub.ts file and add the generate object, then export it:import { initApyhub, data, generate } from "apyhub";
const apy = initApyhub(process.env.APY_TOKEN as string);
export { apy, data, generate };
Inside the
/pages/api/ical.ts file, create a new handler function. Pass the incoming request body data to the generate.ical() function:import { generate } from "../../lib/apyhub";
import { NextApiRequest, NextApiResponse } from "next";
const handler = async (req: NextApiRequest, res: NextApiResponse) => {
const {
summary,
description,
organizer_email,
attendees_emails,
location,
timezone,
start_time,
end_time,
meeting_date,
recurring,
recurrence,
} = req.body;
const url = await generate.ical({
summary,
description,
organizerEmail: organizer_email,
attendeesEmails: attendees_emails,
location,
timeZone: timezone,
startTime: start_time,
endTime: end_time,
meetingDate: meeting_date,
recurring,
recurrence,
responseFormat: "url",
});
return res.status(200).json(url);
};
export default handler;
We've finished! We can now generate an ical file with the given data and download it from our app. No more hassle!
To test it out, fill out the form in our app and click
Create Event. The browser then makes a request to the /api/ical.ts API endpoint, which sends a request to ApyHub servers to create a new iCal file. We receive an URL pointing to this file, which we return to the browser. The file is then downloaded with window.open(data, "_blank");.Deployment
Now that our app is complete, we can easily deploy it on Vercel. Follow these steps and make sure to add the
APY_TOKEN as an environment variable when deploying the application.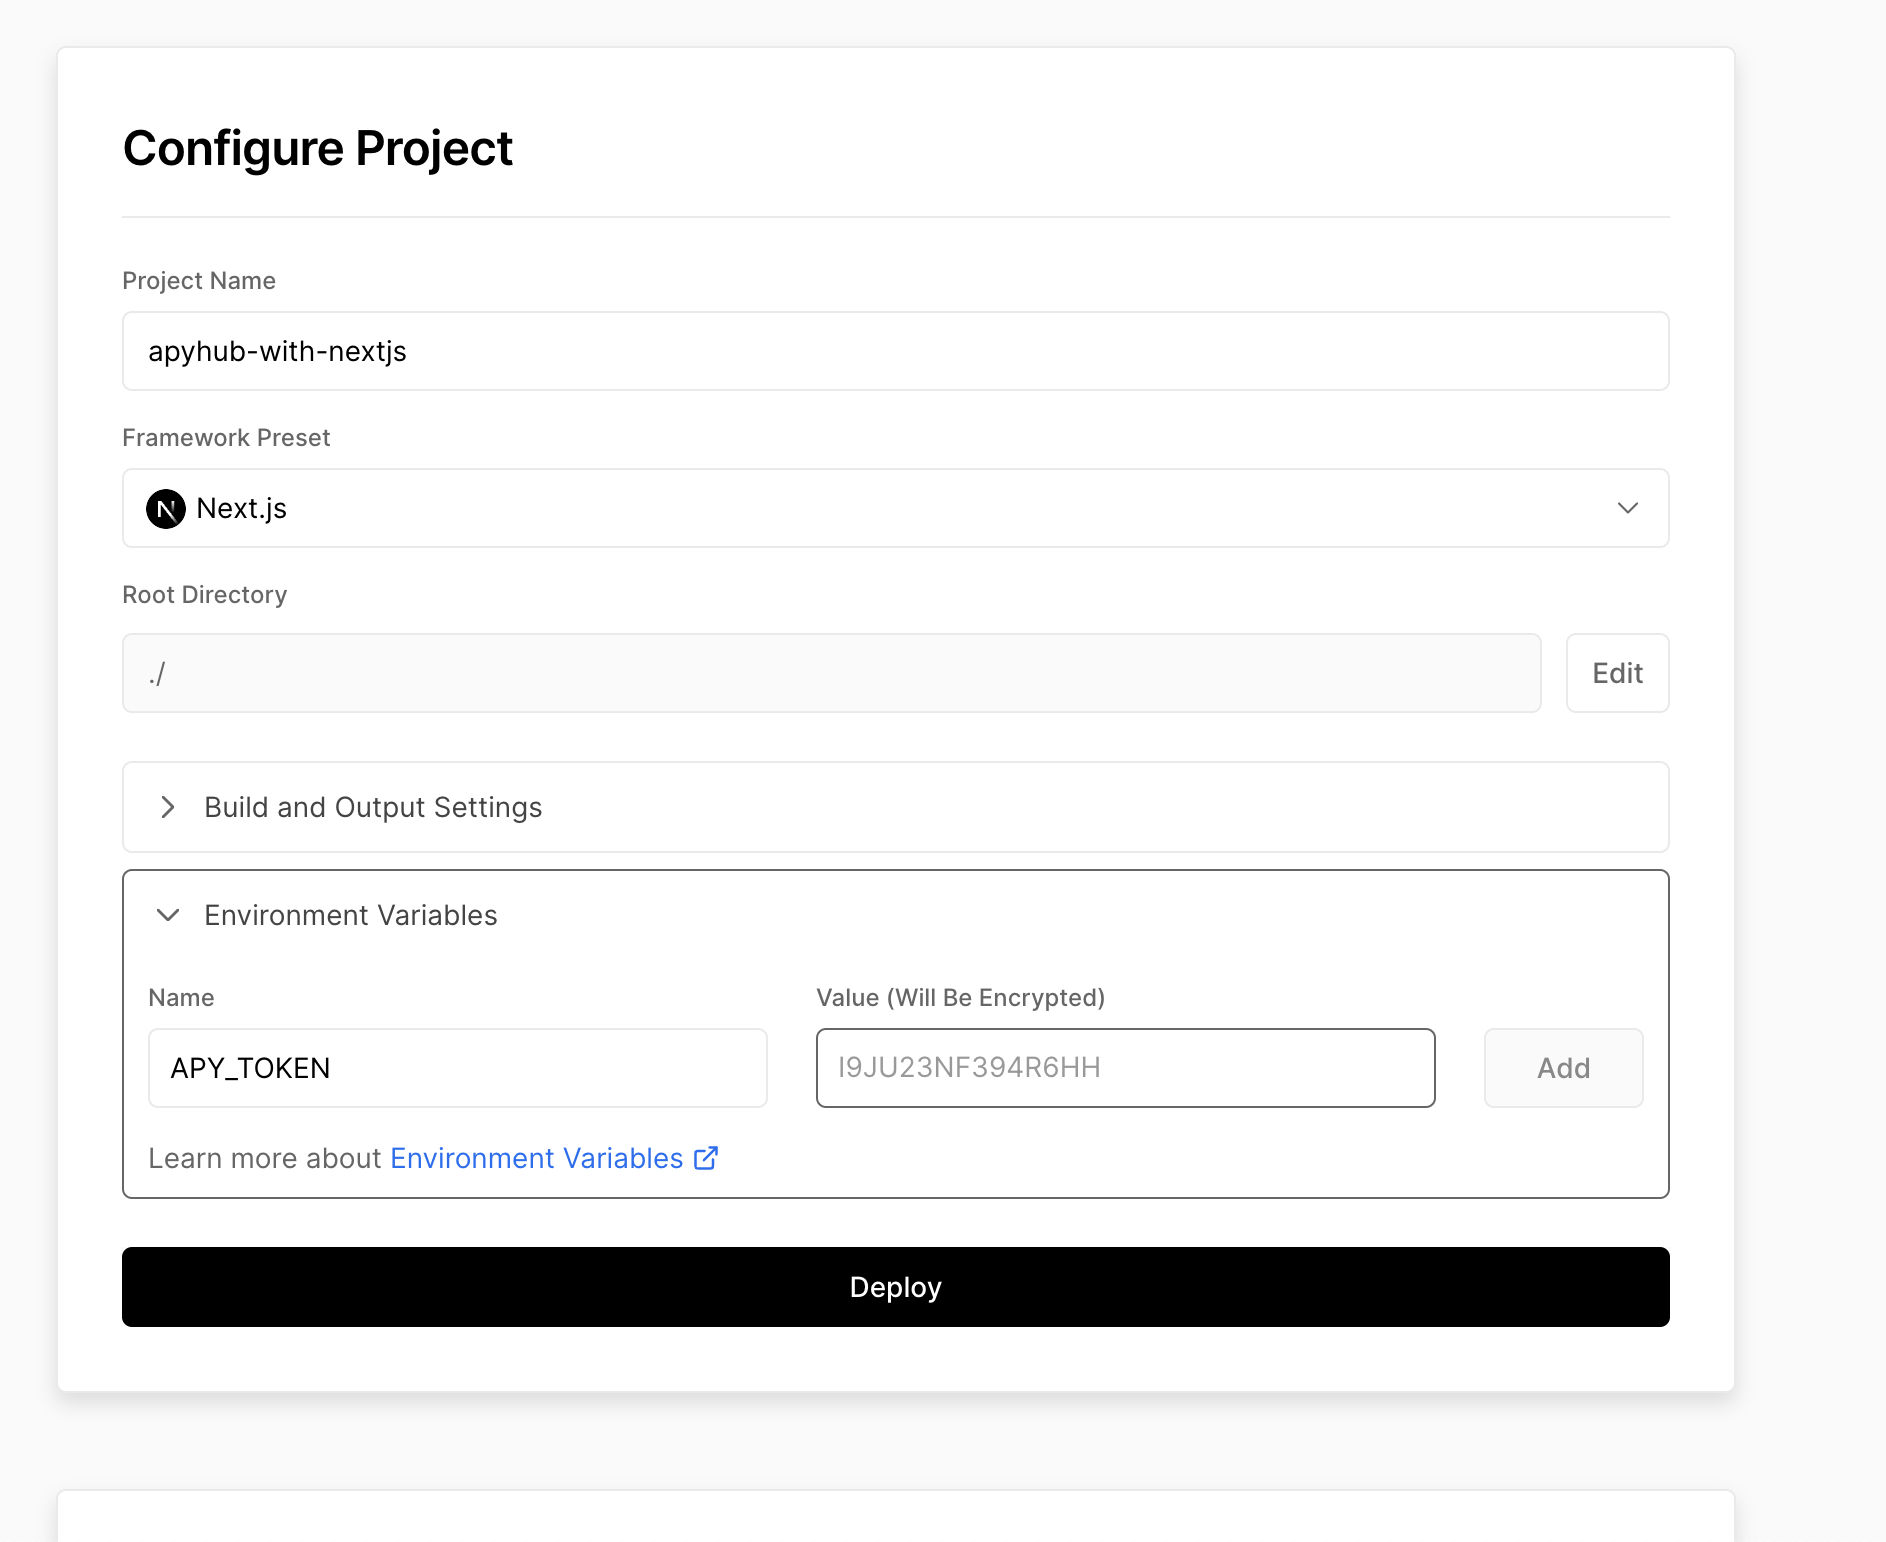
Bonus
Currently, there is no way to validate if an organizer or attendee email provided on our app has a valid domain. To ensure accuracy, you can add the validator-dns-email API to the
/api/ical.ts API route before creating the iCal file. This will validate if the submitted email is valid.