Tutorials
Video Watermarking: Guide Using Node.js & ApyHub API
Follow our step-by-step tutorial to watermark videos with Node.js and ApyHub API. Learn efficient techniques to protect and brand your video content for various platforms.

SO
Sohail Pathan
Last updated on April 25, 2025
Introduction
Your videos are assets, not just content. Guard against piracy, boost brand visibility, and prove authenticity—without editing suites or code bloat. With Node.js and ApyHub’s Video Watermarking API, embed invisible fingerprints or bold logos directly into frames. Automate protection, keep workflows lean, and let copycats hit a dead end.
ApyHub’s 130+ APIs are your shortcut for video watermarking, payments, data checks, PDFs, and image magic. No boilerplate, no maintenance—just plug, play, and scale. Spend minutes integrating, not months building. What’s your first use case?
Why Video Watermarking Matters
Video watermarking serves multiple purposes:
- Copyright Protection: Prevents unauthorized distribution by marking ownership.
- Branding: Adds logos or text to reinforce brand visibility.
- Proof of Ownership: Establishes authenticity in disputes.
- Content Monitoring: Tracks usage across platforms.
In this tutorial, we’ll use Node.js, a popular JavaScript runtime, alongside the ApyHub Video Watermarking API to automate this process efficiently.
Prerequisites
Before starting, ensure you have the following:
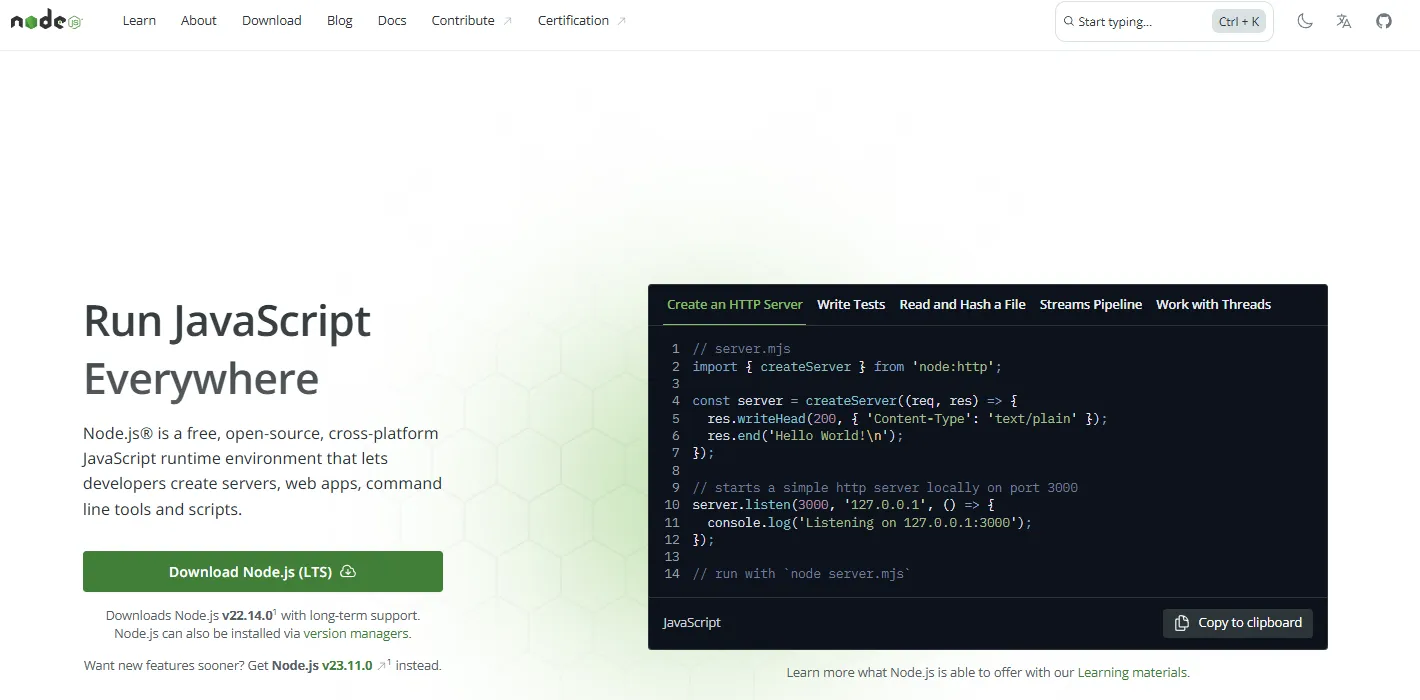
- Node.js Installed: Version 14.x or later recommended. Download here.
-
Basic JavaScript Knowledge: Familiarity with async/await and HTTP requests.
-
Video and Watermark Files: URLs or accessible files for testing (e.g.,
.mp4for video,.pngor.jpgfor watermark). -
Text Editor: VS Code, Sublime, or any preferred IDE.

Step-by-Step Guide to Watermarking Videos
Step 1: Set Up Your Project
Start by creating a new project directory:
mkdir video-watermarking
cd video-watermarking
Initialize a Node.js project:
npm init -y
This generates a
package.json file with default settings, laying the foundation for your application.Step 2: Install Dependencies
We’ll use two key libraries:
- Axios: For making HTTP requests to the ApyHub API.
- fs (File System): A built-in Node.js module for handling file operations.
Install Axios:
npm install axios
No installation is required for
fs as it’s part of Node.js core.Step 3: Write the Watermarking Script
Create a file named
watermarkVideo.js and add the following code: const axios = require('axios');
const fs = require('fs');
async function addWatermark(videoURL, watermarkImageURL, outputFileName) {
const apiURL = `https://api.apyhub.com/generate/video/watermark/url/file?output=${outputFileName}.mp4`;
const requestData = {
video_url: videoURL,
watermark_image_url: watermarkImageURL
};
try {
const response = await axios.post(apiURL, requestData, {
headers: {
'Content-Type': 'application/json',
'apy-token': 'YOUR_APY_TOKEN_HERE'
},
responseType: 'stream'
});
const writeStream = fs.createWriteStream(`${outputFileName}.mp4`);
response.data.pipe(writeStream);
return new Promise((resolve, reject) => {
writeStream.on('finish', () => resolve('Watermark added successfully!'));
writeStream.on('error', reject);
});
} catch (error) {
throw new Error(`Failed to add watermark: ${error.response?.data?.error?.message || error.message}`);
}
}
// Example usage
const videoURL = '<https://example.com/sample-video.mp4>';
const watermarkImageURL = '<https://example.com/watermark.png>';
const outputFileName = 'watermarked_video';
addWatermark(videoURL, watermarkImageURL, outputFileName)
.then((message) => console.log(message))
.catch((error) => console.error('Error:', error.message));
Notes:
- Replace
'YOUR_APY_TOKEN_HERE'with your ApyHub API token from your dashboard. - Update
videoURLandwatermarkImageURLwith valid URLs to your video and watermark image.
This script defines an
addWatermark function that sends a POST request to the ApyHub API, streams the response, and saves the watermarked video locally.Step 4: Execute the Script
Run the script in your terminal:
node watermarkVideo.js
The script will:
- Send the video and watermark URLs to the ApyHub API.
- Receive a stream of the watermarked video.
- Save it as
watermarked_video.mp4in your project directory.
Step 5: Verify the Output
Check your directory for
watermarked_video.mp4. Play the file to confirm the watermark appears as expected.How the ApyHub API Works
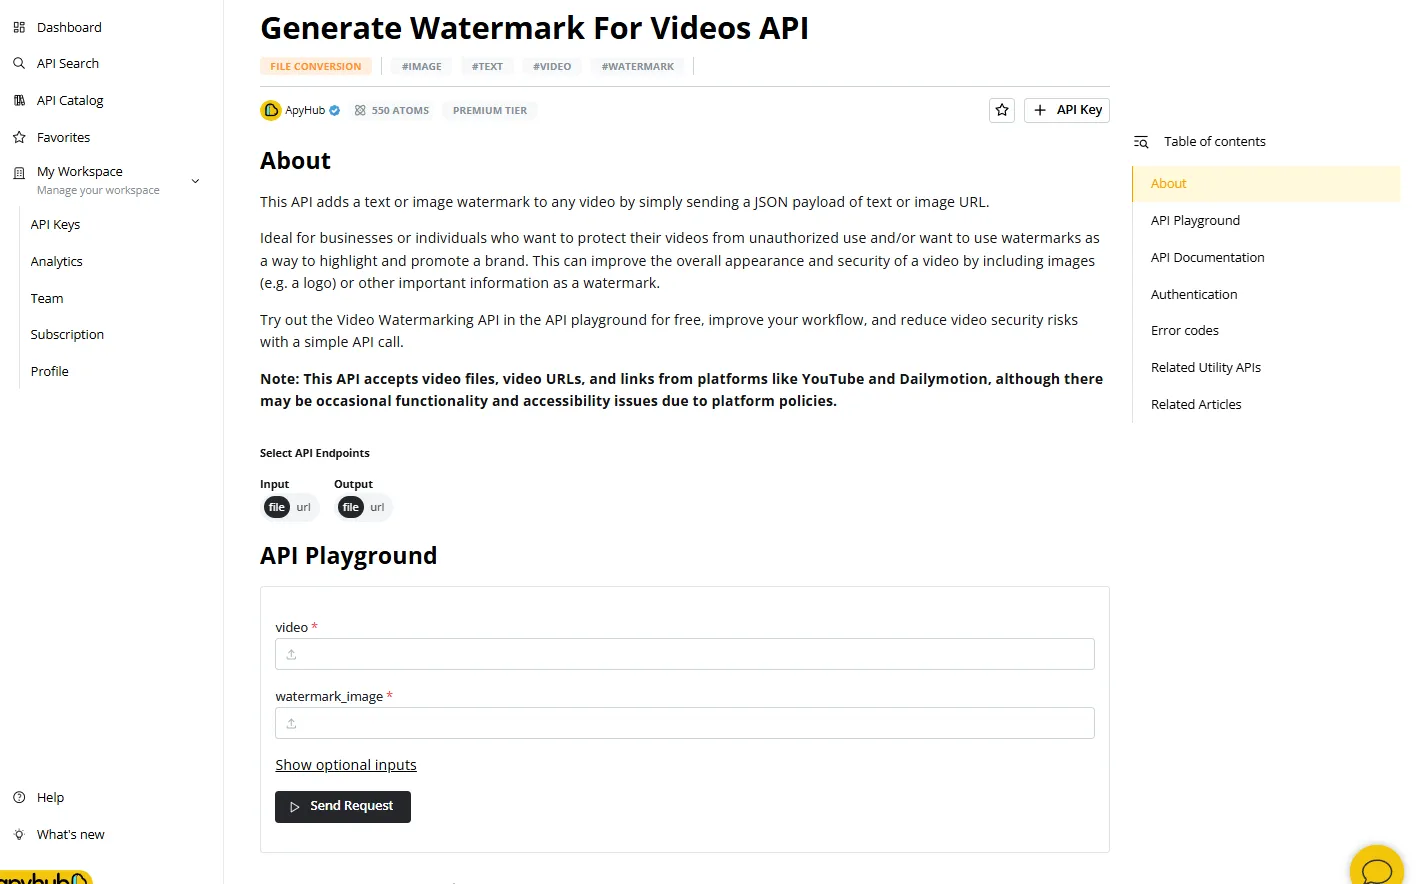
The ApyHub Video Watermarking API simplifies video processing by abstracting complex operations. Here’s a breakdown:
- Endpoint:
https://api.apyhub.com/generate/video/watermark/url/file - Method: POST
- Parameters:
video_url: URL of the source video.watermark_image_url: URL of the watermark image.
- Headers:
Content-Type: application/jsonapy-token: Your authentication token.
- Response: A stream of the watermarked video.
The
responseType: 'stream' option in Axios ensures efficient handling of large files by piping the response directly to a file stream.For advanced customization (e.g., watermark position or opacity), refer to the ApyHub watermark video.
Best Practices for Video Watermarking
To maximize effectiveness, consider these tips:
- Watermark Design: Use a semi-transparent logo or text that’s visible but unobtrusive.
- Positioning: Place the watermark in a corner (e.g., top-right) to avoid obscuring key content.
- Consistency: Apply the same watermark across all videos for brand uniformity.
- File Format: Use PNG for watermarks with transparency support.
Troubleshooting Common Issues
- Authentication Errors: Verify your API token is correct and active.
- Invalid URLs: Ensure video and watermark URLs are publicly accessible.
- File Write Errors: Check directory permissions if the output file isn’t saving.
- API Limits: Confirm your ApyHub plan supports your video size and usage.
Enhancing the Script
To make the script more robust, consider these additions:
Error Handling
if (!videoURL || !watermarkImageURL || !outputFileName) {
  throw new Error('Missing required parameters');
}
Configuration Options
Add parameters for watermark position or size:
const requestData = {
  video_url: videoURL,
  watermark_image_url: watermarkImageURL,
  position: 'top-right', // Optional: customize via API
  opacity: 0.7          // Optional: adjust transparency
};
Check the ApyHub documentation for supported options.
Advanced Use Cases
- Local Files: Upload local videos by modifying the script to use ApyHub’s file-based endpoint (requires multipart form data).
- Batch Processing: Extend the script to watermark multiple videos by looping over an array of URLs.
- Dynamic Watermarks: Generate watermarks programmatically (e.g., user-specific text) using ApyHub’s image processing APIs first.
Conclusion
Done — you just turned Node.js into a content guardian. With ApyHub’s API, watermarking isn’t just ‘security done’; it’s security simplified.
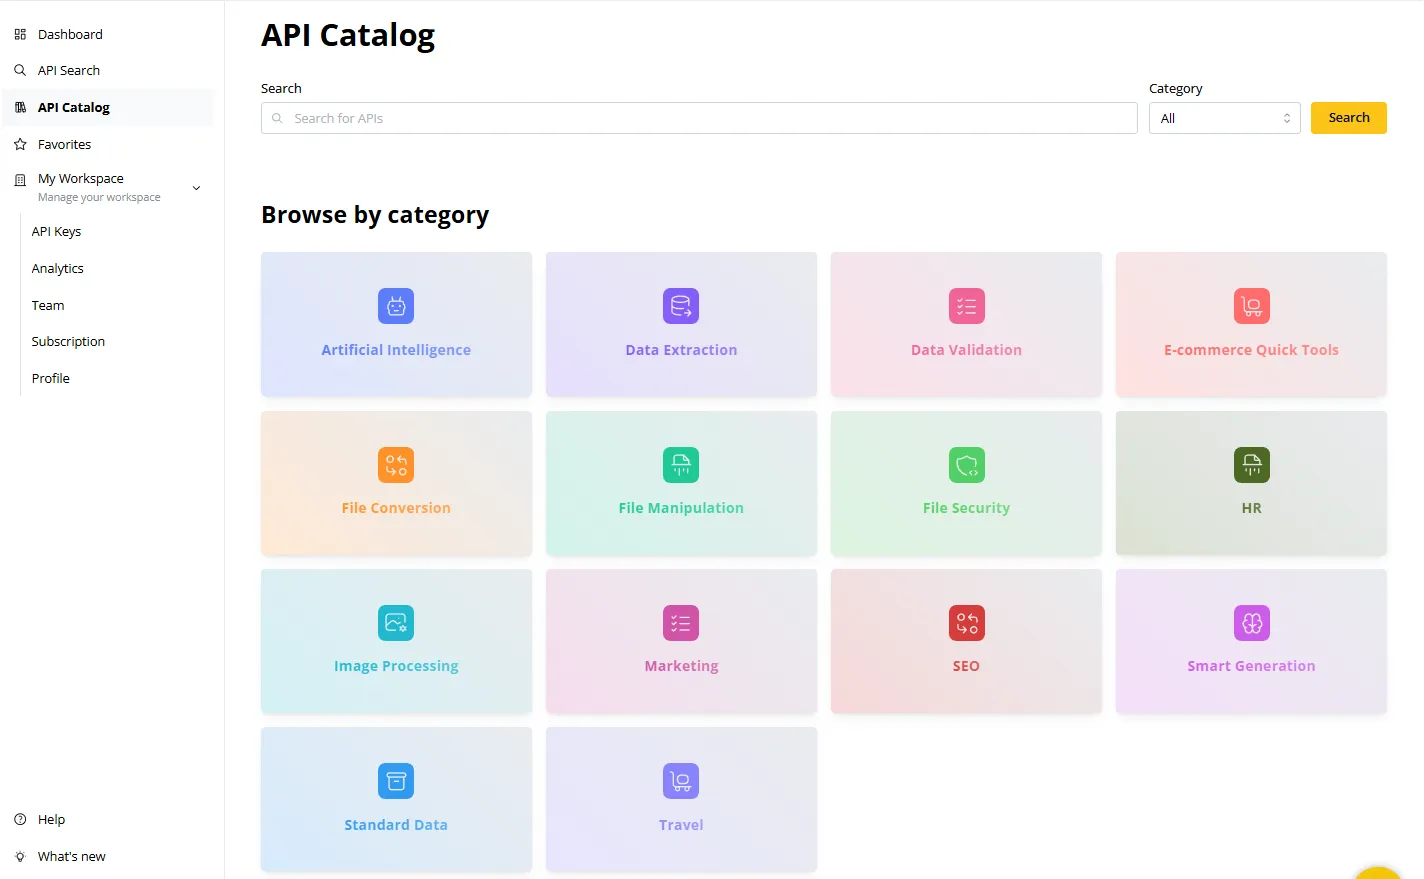
And it doesn’t stop there. With ApyHub’s extensive API catalog, you can extend this workflow to other tasks like PDF watermarking or video thumbnail generation.
FAQ
-
What is video watermarking?Video watermarking embeds a mark (e.g., logo or text) into a video to signify ownership or prevent misuse.
-
Why use ApyHub for video watermarking?ApyHub’s API simplifies the process, offering a scalable, code-free solution for Node.js developers.
-
Can I watermark local files with ApyHub?Yes, ApyHub supports file uploads. See their documentation for details.
-
How do I get an ApyHub API token?Sign up at ApyHub, then retrieve your token from the dashboard.
-
What watermark formats are supported?ApyHub accepts image formats like PNG and JPEG for watermarks.
-
Are there video size limits with ApyHub?Limits depend on your subscription. Check ApyHub’s pricing for specifics.
-
What else can I do with ApyHub APIs?Beyond video watermarking, ApyHub offers APIs for PDF editing, image manipulation, and data validation—explore the full catalog at ApyHub.